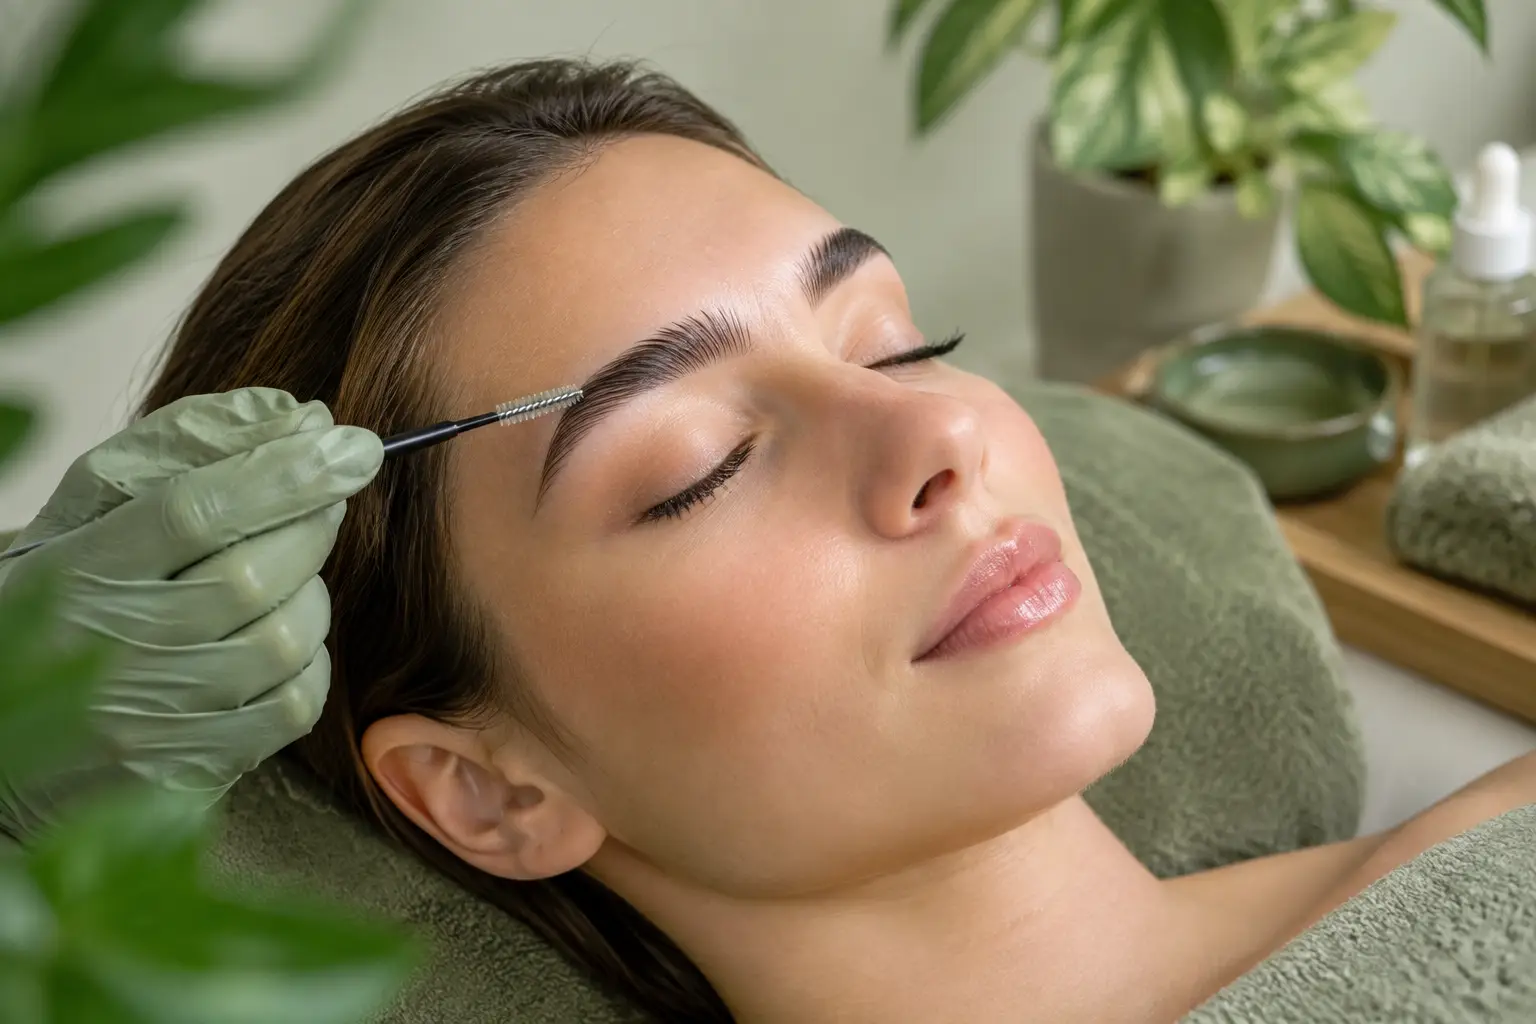
A brow lamination appointment is wonderfully low-maintenance, but the most polished results begin before you settle into the treatment chair. Knowing how to prepare for brow lamination helps protect the delicate skin around your brows, gives your therapist the clearest canvas to work with, and sets the stage for soft, lifted brows that still feel like you.
Brow lamination works by gently reshaping the direction of the brow hairs, creating a fuller, brushed-up finish that can make even naturally fine or uneven brows appear more defined. It is not about making every brow look identical. The best result is tailored to your face, your natural hair growth and how dramatic or understated you would like your finished look to feel.
“A brow lamination appointment is wonderfully low-maintenance, but the most polished results begin before you settle into the treatment chair.”
Book a patch test before your brow lamination
A patch test is a small but essential part of preparing for brow lamination. The treatment uses professional solutions to soften and reset the hair structure, and many appointments also include a tint. Even if you have had brow or lash treatments elsewhere before, sensitivities can develop over time, so a recent test gives your therapist the information they need to treat you safely and confidently.
Your salon will advise when to have it, but this is commonly at least 48 hours before the appointment. The test is quick and discreet, usually applied to a small area of skin. If you experience itching, swelling, redness, soreness or any other unexpected reaction afterwards, let the salon know promptly. Do not try to cover it with make-up or assume it will settle before your treatment.
It may feel tempting to see a patch test as an optional extra when your diary is full. In a premium treatment, however, your comfort and skin health always come first.
Give the brow area a calm, clean canvas
Arrive with clean brows and as little product around the eye area as possible. Brow pencil, pomade, tinted gel and mascara can all be removed at your appointment, but coming fresh-faced allows more time to focus on the treatment itself. It also means your therapist can assess your natural brow pattern without product disguising sparse areas, cowlicks or differences in hair direction.
For 24 hours beforehand, avoid applying rich oils, heavy balms or waterproof make-up directly through the brows. These can leave a residue on the hair and skin. A simple, gentle cleanse is enough on the morning of your appointment.
There is no need to over-scrub or exfoliate the area. In fact, freshly irritated skin is less comfortable during any brow treatment. Treat the skin around your brows with the same care you would give your complexion before a facial: clean, calm and not compromised.
Pause strong skincare where appropriate
If you use active skincare around the forehead or upper eye area, take a short pause before your appointment. Retinoids, exfoliating acids and strong at-home peels can make the skin more sensitive, particularly if you use them regularly or have recently increased their strength.
As a general guide, avoid applying these products close to your brows for several days beforehand, unless your therapist or prescribing clinician has advised otherwise. This includes retinol, tretinoin, glycolic acid, salicylic acid and other exfoliating treatments. If you are using prescribed skincare, do not stop it without medical guidance. Instead, mention it when booking so your treatment can be planned with care.
Recent professional peels, laser treatments, microneedling or other skin procedures may also affect when brow lamination is suitable. Timing depends on the treatment, the area treated and how your skin has recovered, so openness is far more useful than trying to guess.
Let your brows grow as naturally as possible
Put the tweezers down for a few days before your appointment. Brow lamination can be paired with shaping, and allowing the hairs to grow gives your therapist more to work with. Those tiny hairs that seem untidy at home can make a real difference to the final shape and fullness.
Avoid waxing, threading or tinting your brows immediately beforehand too. Waxing and threading can leave the skin temporarily sensitive, while a home tint may make it harder to achieve an even, bespoke colour during your appointment. If you have a particular event approaching, booking your brow lamination a few days in advance rather than the night before is usually the more relaxed choice.
That said, you do not need to arrive with dramatically overgrown brows. The aim is simply to leave enough natural growth for a considered, flattering shape.
Be honest about your skin, eyes and recent treatments
Brow lamination is a gentle salon treatment when it is carried out correctly, but it is not right for every set of circumstances. Let your therapist know before the appointment if you have eczema, dermatitis, psoriasis, broken skin, sunburn, an eye infection or an active allergic reaction around the brow area. The same applies if you have recently had surgery near the eyes or are using medication that changes your skin sensitivity.
It is also helpful to mention previous reactions to hair dye, brow tint, lash treatments, adhesives or cosmetics. A skilled therapist is not there to judge your routine. They are there to make sure the service is appropriate and to adapt it when possible.
Pregnancy and breastfeeding do not automatically rule out brow lamination, but salon policies can vary, and individual skin sensitivity can change during this time. Ask when booking, especially if you have not had the treatment before. The right decision is the one that feels safe, comfortable and properly informed.
Plan for the first day afterwards
Preparation is not only about what happens before the appointment. A little diary planning protects your result once you leave. Brow hairs should generally stay dry and undisturbed for the first 24 hours, so avoid scheduling brow lamination immediately before swimming, a sauna session, a hot yoga class or an especially sweaty gym workout.
If possible, choose a day when you can skip steam rooms, long hot showers and face-down sleeping. Try not to rub the brows, apply make-up directly over them or repeatedly brush them into different positions during that first day. The treatment needs time to settle into its beautifully lifted finish.
After this initial period, your therapist may recommend conditioning the brows with an appropriate nourishing product and brushing them into place each morning. The exact aftercare can vary according to the products used and whether your brows were tinted or shaped, so follow the advice given at your appointment rather than relying on a generic social media tip.
Choose the right timing for an occasion
Brow lamination is ideal before a holiday, wedding, celebration or a season when you want your morning routine to feel more effortless. Still, it is wise not to make your very first appointment the day before a major event. While many clients love the immediate effect, the brows can look more sculpted on day one and soften into a more natural finish after the first wash.
Booking around three to five days ahead gives you time to become familiar with the look and lets you make any small adjustments to your make-up routine. If you prefer a softly groomed brow rather than a high-fashion, fluffy finish, say so. Your therapist can tailor the direction and styling to complement your features and lifestyle.
For clients in Pangbourne, Reading and Tilehurst looking for a polished but personal brow experience, The Beauty Box Pangbourne approaches brow treatments with the same care given to every luxury appointment: considered consultation, professional products and a finish designed around you.
What to expect when you arrive
A thoughtful appointment begins with a consultation. You may be asked about allergies, skincare, previous brow treatments and the look you are hoping to achieve. This is the moment to show a reference photo if you have one, but keep it as inspiration rather than a fixed blueprint. Brow density, hair texture and natural asymmetry all influence what will look most flattering.
Your therapist will cleanse the area, assess the hair direction and select a shape and tint that suit you. The lamination solutions are applied carefully, with the hairs brushed into their chosen position before being set and nourished. Most appointments feel restful, although you may notice a light product scent or a brief sensation as the solutions work. There should not be burning or significant discomfort. Speak up straight away if anything feels wrong.
Beautiful brows should never come at the expense of your comfort. A little preparation, an honest consultation and the right aftercare turn brow lamination from a quick beauty task into a confidence-boosting ritual – one that leaves your face looking naturally polished long after you have left the salon.